By Doug Lyons
The memories of the first good trout that I caught on a fly of my own making are as fresh today as they were on that bright June day when I brought to net a beautiful wild brown trout of perhaps 15 inches. It was a seminal moment in my education as a fly angler, and I felt that I had truly entered the upper echelon of fly anglers (which, I learned quickly, was far from true).
The whole scene played out in the most satisfying of ways. I could see the tail of the trout underneath an overhanging tree. Deciding that now was the time to cinch to the end of my leader, the Atherton No. 4 nymph that had emerged from the jaws of my vise only the week before, I laid out a cast that allowed for a perfect drift into the trout’s lair. To my amazement, I saw the fish move to intercept my fly and, for once, I struck at the right time.
The fight was everything one could hope for, and after a few minutes, the vermillion spotted fish came to hand. The fish was released; the memories remain. As I walked back to my car, it was then that I decided that I should use flies of my own making as frequently as possible. After all, if I could catch a fish like this on my home-tied fly, why couldn’t I do it again and again?
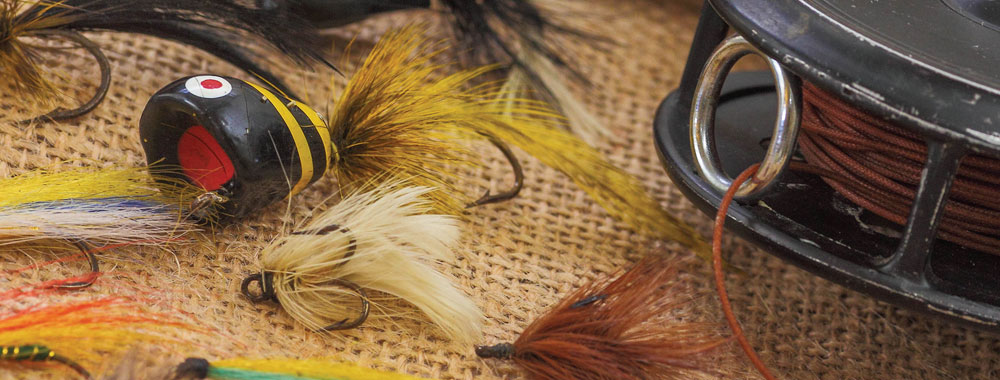
Assuming you, the reader, are interested in picking up the tying bug (so to speak), please allow this decidedly average lasher of feathers and fur to hook to offer a few suggestions. Like any hobby, fly tying can seem bewilderingly complex, overly expensive and frustratingly inaccessible to the beginner. But there are options aplenty. One can visit a local fly shop to take classes, go to a Trout Unlimited meeting to see the process in action, or do a quick search on the internet for numerous instructional videos (Tim Flagler being perhaps the best out there).

Putting aside the basic equipment for a moment, the best advice I can give is to not be shy about asking experienced tiers questions, showing them your efforts and spending as much time at the vise as you are able. I have gained valuable lessons and tips just by showing others my own creations. And the more time you spend at the vise, the more comfortable you will become.
For the beginning tier, I am a firm believer in the KIS principle (keep it simple). The modern tier has more tools and materials available than at any other time in history. While this is great, it can also be confusing and intimidating. The best way to overcome this is to start simply and build up from there. While there are a variety of synthetic materials available to the tier, I would focus on a few basic items, such as thread, hackle (rooster for dry flies; hen or grouse for wet and nymphs) chenille and rabbit furs dyed in a couple of colors, and a skin of elk or deer hair.
The best flies to start tying are a basic wooly bugger, a wet fly such as the partridge and orange, a hares ear nymph, a Catskill-style dry fly and an elk hair caddis. These five types of flies will introduce you to a variety of materials and techniques, and you can fill up your fly box quickly with useful counterfeits that will catch fish and bring a smile to one’s face. There are plenty of online videos showing how to tie all these flies.

As for the tools of the trade, there are surprisingly few that are truly necessary. The fly tying vise is, of course, critical to the whole operation, and I would definitely spend time at a shop getting the feel for a variety of options.
Scissors are important, and if you are going to spend a little more, this is an item where quality matters. If you can, get two scissors — one for snipping threads and quills, and another for cutting rougher materials such as deer hair or tinsels and wire. A bobbin is also required, and here again, there are a variety of options. Get a feel for what you like and purchase a couple of these to hold your tying threads.
A hackle plier is also something you will want. Mine is very simple and cheap. Finally, one will need a whip finish to tie off the fly. Some tiers do this by hand by triangulating the thread and forming a finishing knot. The whip finish does this for you.
One other item that is needed is a good lamp. Any number of reading lamps will do the trick, and this will really help with eye strain. I was able to find a very good one at a local discount store for short dollars, so there is really no need to spend a lot here. But next to the tying vice and scissors, I believe a lamp is the most important tool one can have.
Finally, have no worries about the fish-catching qualities of even your most rudimentary early efforts. An expert tier that I know has looked at many a fly that resembles something the cat coughed up and looked at the person that tied the fly, smiled, and said in all sincerity that, yes indeed, that fly will catch a fish.
Doug Lyons is a lifelong New Englander who picked up a fly rod at the age of 13, much to the pleasure of the local worm population.Doug and his family split their time between greater Boston and the tranquility of the Green Mountains.
